
Giving a ‘flower power’ livery a classic makeover
I opened a M2 Machines 1969 Dodge Charger Daytona last week on Free it Friday. I’ve always liked the big, boxy spoiler on the back of the Daytona as well as the paint scheme on one of the truly iconic muscle cars.
The original model had a Hurst Flower Power livery, which I actually liked. Both doors as well as the hood open and closed on the model, which was a nice plus. A detailed engine was included as well as a nicely detailed interior.
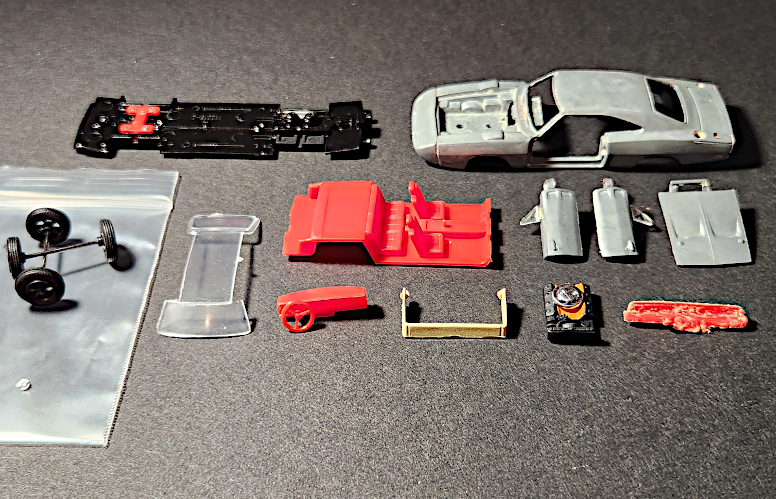
The first step in the build was to break the car down. That was relatively easy to do, given the M2M diecasts are put together with screws and not rivets. There were some plastic parts on the model. The pins that attach the parts to the car were melted to the inside of the metal body casting. So, it was pretty easy to use a chisel to scrape away the melted plastic and release the parts.
The only problem I encountered was the taillights. The melted plastic from the spoiler obscured the pins from the plastic taillight. So, I didn’t realize the part was plastic until I put a paint stripper on it. When I started cleaning up the car, I realized my error. The plastic had been melted, so I may have to scratchbuild a replacement part. I’m going to do some sanding and filing to see if I can save it.
Currently, I’ve got all the diecast parts painted red with a light brown interior. Next up is repairing the tail lights and detail painting as well as painting the spoiler and black stripe on the rear of the model. For this build, I think I’m going to seal the car in a matte finish and then do the detail painting in enamels. I’m going to add a “Daytona” decal to the black stripe on the quarter panel. There was also a scratch on the windshield I’m going to have to buff out. I’m going to look through my extra M2 rims and tires and will most likely do a swap on those as well.
That will wrap up all the work on the car except for sealing in a gloss varnish and reassembling the model.
