
Revisiting the Naziri Naz-Said robots
This project kind of ballooned on me. When I started, it was just as a test build for a few ideas I had to improve on the initial Naz-Said Type I prototypes. While I was building it, I had a few more ideas that I stuck into the project. Then I came up with some basing ideas I wanted to try for a mini-diorama. So, the project really became a test bed for several different ideas. Some of the ideas made it into the final project and other ideas just didn’t fit in or went by the wayside all together.
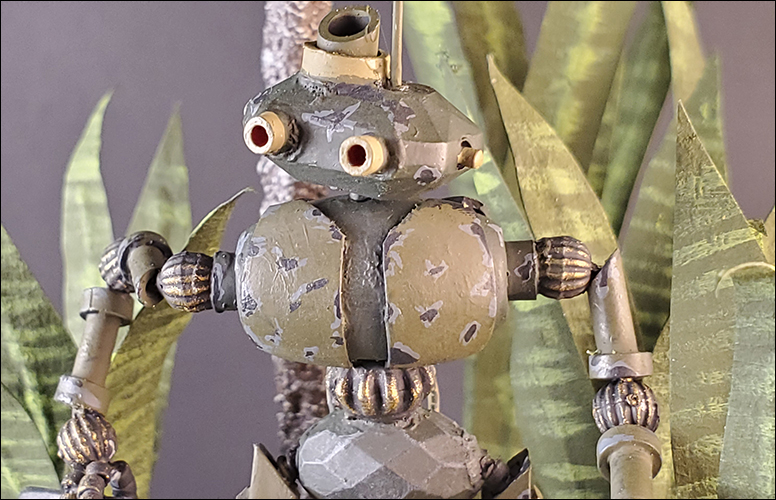
The main body is built with plastic beads for the head and hips and a wood bead for the torso and shoulders. I ran three 26-gauge wires through the torso for an armature and attached arms made with styrene tubes and the joints were made with serrated beads. The leg construction was similar, but I used a 20-gauge wire wrapped in 26-gauge wire for the leg armature and square styrene tubing. The feet were made with the end of a zip tie.
The main problem with the design is the plastic beads. I like the shape of the beads, but they were hard to drill out and didn’t take superglue well. I ended up with a lot of messy glue overruns because of this.
The wood and styrene on the other hand was easy to work with. I could use wood glue, a super glue gel or Tamiya Thin Model Cement on those parts with no glue showing up on exposed surfaces.
I used a .35mm styrene rod for the wiring on the Type II’s back and legs, as well as for the antenna on the head. That worked okay, but the styrene rod was pretty fragile once I bent it into shape. As a matter of fact, I broke off the antenna while painting and had to replace it. On the Type III, I’m going to have to find a better material for the wires.
As far as the painting goes, I was pretty happy with the color scheme and the hand-painted chipping. The only thing I would change is to use a lighter color grey for the initial chipping effect so that it created a little more contrast between the olive drab paint and the German dark grey I used to simulate the underlying metal.
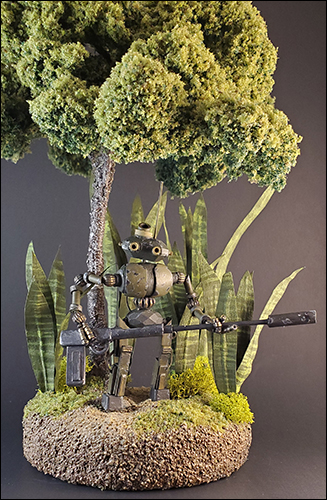
The tree was modeled after an oak in my backyard. I used a basic wire construction for the armature and textured the armature with a mixture of Allene’s Tacky Glue and medium landscaping foam. The end result wasn’t what I was hoping for, but using the foam was an idea I wanted to try out. It looks okay, but I was shooting for a rougher texture.
The sanseveria looking plants were made using a technique Luke Towan described in one of this palm tree videos. The rest of the shrubbery was made using a combination of lichen and foam landscaping.
I used Vallejo Model Color paints for the Type II and Apple Barrell craft paints on the base and foliage. Weathering was done with dust from pastel chalk, I don’t remember what the brand of pastels was.
